
To upload a document, the process involves two steps:
- Generate a pre-signed upload URL
/generate_presigned_url_no_auth endpoint.
This returns a pre-signed URL (valid for 5 minutes) and associated form fields including the file_type (MIME type).
⚠️ Important
- File size limit: 2MB
- Presigned URLs are valid for 5 minutes
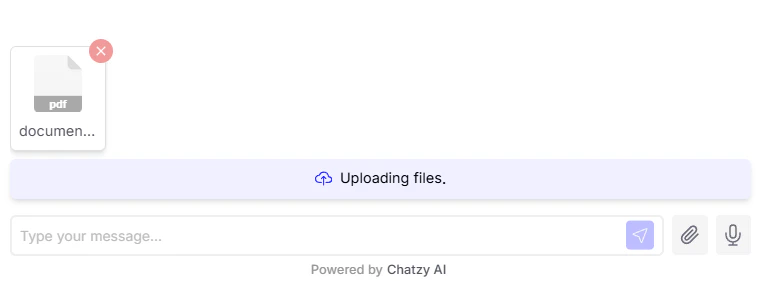
- Upload the file
- Make a
POSTrequest to the returned url (https://chatzy-kb-store.s3.us-east-1.amazonaws.com/). - Send the provided fields and the file itself as
multipart form data. - If the upload succeeds, AWS S3 responds with HTTP 204 (No Content).
- Any other response indicates an error, handle it accordingly.
Using Uploaded Documents in /get_inference
Once documents are uploaded, they should be passed as part of the documents field in the /get_inference API payload.
Each document must contain:
file_name-> Original file name (e.g., “document.pdf”)mime_type-> File MIME type (e.g., “application/pdf”)s3_url-> Built using the returned key from/generate_presigned_url_no_auth
s3_url:
👆 Key here is theExample documents array:keyfield in above example response, you will get your own unique key in the response upon calling this endpoint:/generate_presigned_url_no_auth.
- A maximum of 5 files can be attached in a single
/get_inferencerequest. - If the user sends only files (without message content), the request payload must add a default
messageobject with content as following: